Butterfinger Pie
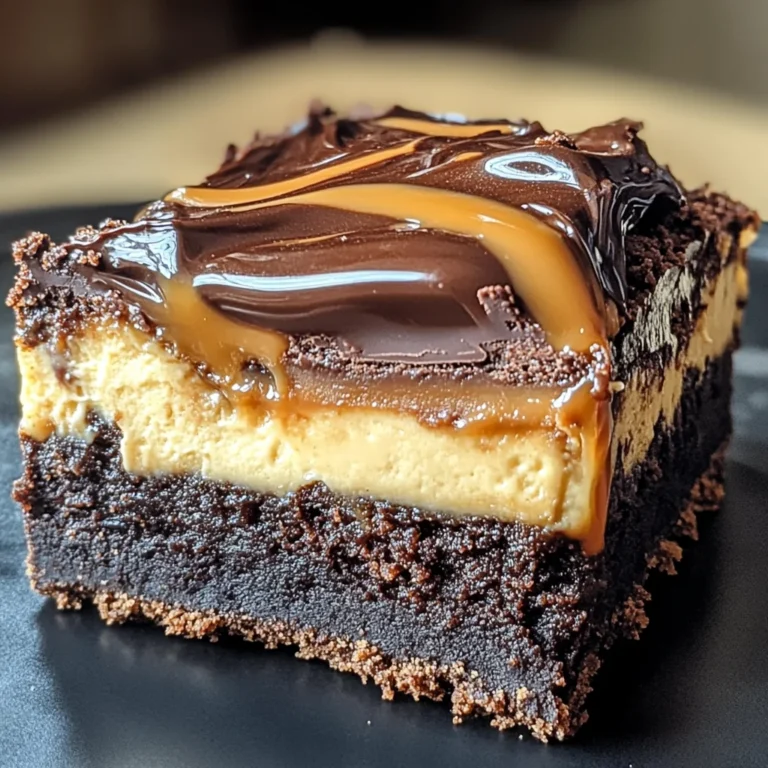
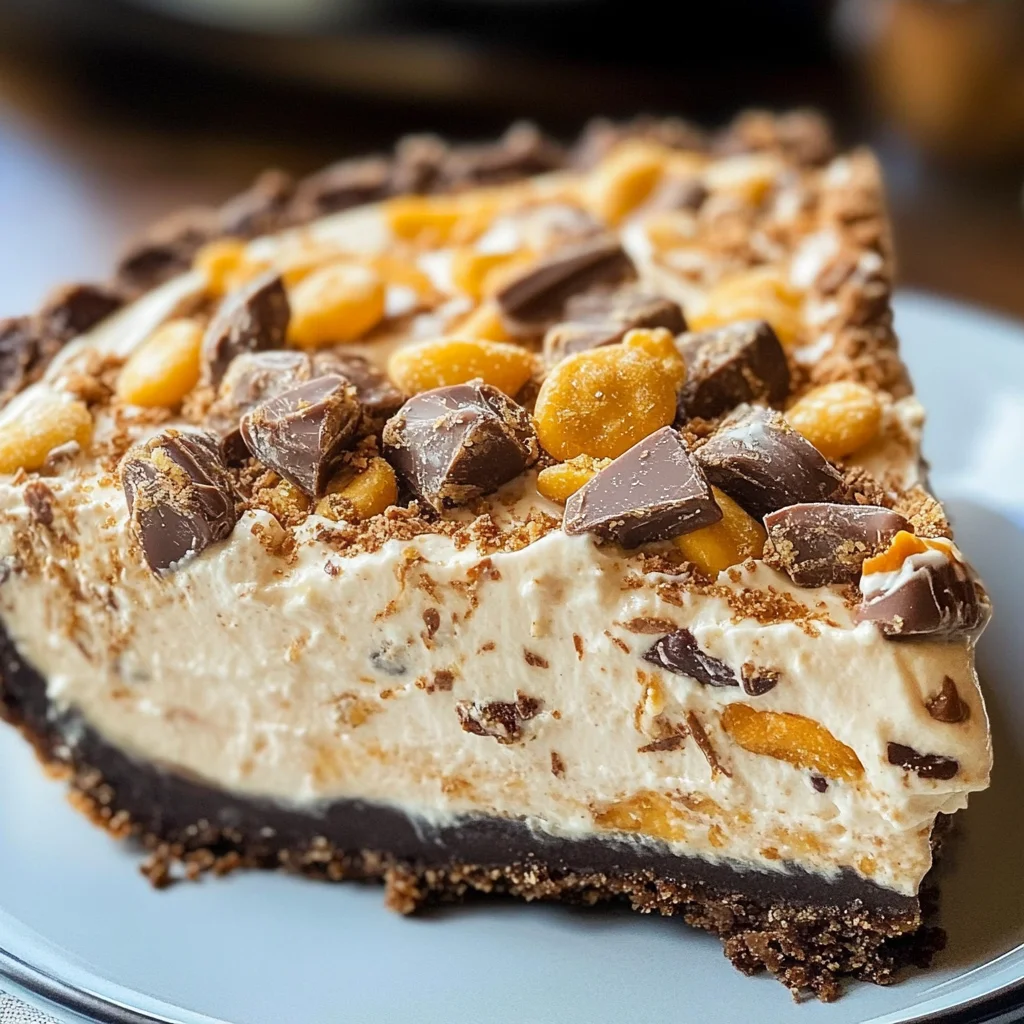
If you’re looking for a delightful dessert that will leave everyone asking for seconds, then this Butterfinger Pie is just the ticket! This cool and creamy pie has become a family favorite in my home. Not only is it ridiculously easy to whip up, but it also brings back sweet memories of gathering around the table with loved ones. Whether it’s a busy weeknight or a festive family gathering, this no-bake treat is perfect for any occasion.
With its rich flavor and crunchy bits of Butterfinger candy, this pie is sure to be a hit. Plus, it requires minimal effort—what’s not to love? Let’s dive into why you’ll adore making this Butterfinger Pie!
Why You’ll Love This Recipe
- Quick to Prepare: You can whip up this dessert in just 15 minutes! That means less time in the kitchen and more time enjoying your company.
- Family-Friendly: Kids and adults alike will go crazy for this tasty treat. It’s hard to resist the combination of peanut butter and chocolate!
- Make-Ahead Convenience: Simply prepare it ahead of time and let it chill in the fridge. It’s ready when you are!
- Decadent Flavor: The mix of creamy filling with crunchy Butterfinger pieces makes each bite an indulgent experience.
Ingredients You’ll Need
Gathering the ingredients for this Butterfinger Pie is as easy as pie itself! You’ll find that these simple, wholesome ingredients are likely already in your pantry or easily accessible at your local store.
For the Filling
- 1 (8-ounce) package cream cheese (room temperature)
- 1/2 cup creamy peanut butter
- 2 teaspoons vanilla extract
- 1 1/2 cups powdered sugar
- 1 (12.5-ounce) bag fun-sized butterfinger bars (crushed; reserve 2 bars to sprinkle on top)
- 1 (8-ounce) container Cool Whip (thawed)
For the Crust
- 1 store-bought oreo or chocolate graham cracker crust
Variations
The beauty of Butterfinger Pie lies in its flexibility! Feel free to get creative with these fun variations:
- Add some crunch: Toss in some chopped nuts like peanuts or pecans for an extra texture boost.
- Switch up the crust: Experiment with different crusts like a brownie base for a richer flavor.
- Make it chocolatey: Drizzle some melted chocolate over the top before serving for added decadence.
- Go fruity: Add some sliced bananas or strawberries on top for a fresh twist!
How to Make Butterfinger Pie
Step 1: Mix the Base
Start by placing your cream cheese and peanut butter in a large mixing bowl. Add in the vanilla extract and beat everything together with an electric mixer until smooth. This step is important because it ensures your filling has that perfectly creamy texture we all love!
Step 2: Sweeten It Up
Next, beat in the powdered sugar until everything is well combined and smooth. This adds sweetness without overpowering the other flavors. Trust me, you want that perfect balance!
Step 3: Fold in the Fun
Gently fold in the crushed Butterfingers, making sure they are evenly distributed throughout the mixture. This step allows those glorious crunchy bits to shine through every slice.
Step 4: Incorporate Cool Whip
Now it’s time to fold in the thawed Cool Whip gently. This will lighten up your filling and give it that airy texture that melts in your mouth.
Step 5: Assemble Your Pie
Spread the delicious filling into your prepared crust and make sure it’s evenly distributed. Don’t forget to sprinkle those reserved crushed Butterfingers on top for that extra flair—it looks fabulous!
Step 6: Chill Out
Finally, refrigerate your pie for at least four hours before serving. This allows all those flavors to meld together beautifully, creating a dessert that’s simply irresistible when you finally dig in.
There you have it! Now you’re ready to impress friends and family with this delightful Butterfinger Pie. Enjoy every bite!
Pro Tips for Making Butterfinger Pie
Creating the perfect Butterfinger Pie can be a breeze with these simple tips!
-
Use room temperature cream cheese: This helps achieve a smooth consistency and makes it easier to blend with other ingredients, avoiding any lumps in your filling.
-
Chill your mixing bowl: If you place your mixing bowl in the fridge or freezer for a few minutes before starting, it can help keep your Cool Whip cool for better folding.
-
Reserve butterfingers for topping: Saving a couple of crushed Butterfinger bars to sprinkle on top not only enhances the presentation but also adds an extra crunch when serving.
-
Longer refrigeration is better: While 4 hours is the minimum chill time, letting it sit overnight allows the flavors to meld beautifully, resulting in a more delicious dessert.
How to Serve Butterfinger Pie
Presenting your Butterfinger Pie can be just as fun as making it! Here are some delightful ideas to impress your family and friends.
Garnishes
- Chocolate drizzle: A simple drizzle of chocolate syrup across the top adds elegance and extra sweetness.
- Whipped cream: A dollop of whipped cream on each slice enhances the creamy texture and adds visual appeal.
- Chopped nuts: A sprinkle of chopped peanuts or almonds can provide an interesting crunch that complements the pie’s flavor.
Side Dishes
- Fresh fruit salad: A light and refreshing fruit salad serves as a perfect contrast to the rich pie, balancing sweetness with natural tartness.
- Vanilla or chocolate non-dairy ice cream: Serving a scoop on the side adds an extra layer of creaminess and makes for an indulgent treat.
- Coffee or herbal tea: Pairing this dessert with a warm beverage rounds out the meal perfectly, offering a cozy finish to your gathering.
- Chocolate-covered pretzels: The salty crunch of chocolate-covered pretzels can complement the sweetness of the pie, creating a delightful flavor contrast.
With these tips and serving suggestions, your Butterfinger Pie is sure to be a hit at any gathering! Enjoy every delicious bite.
Make Ahead and Storage
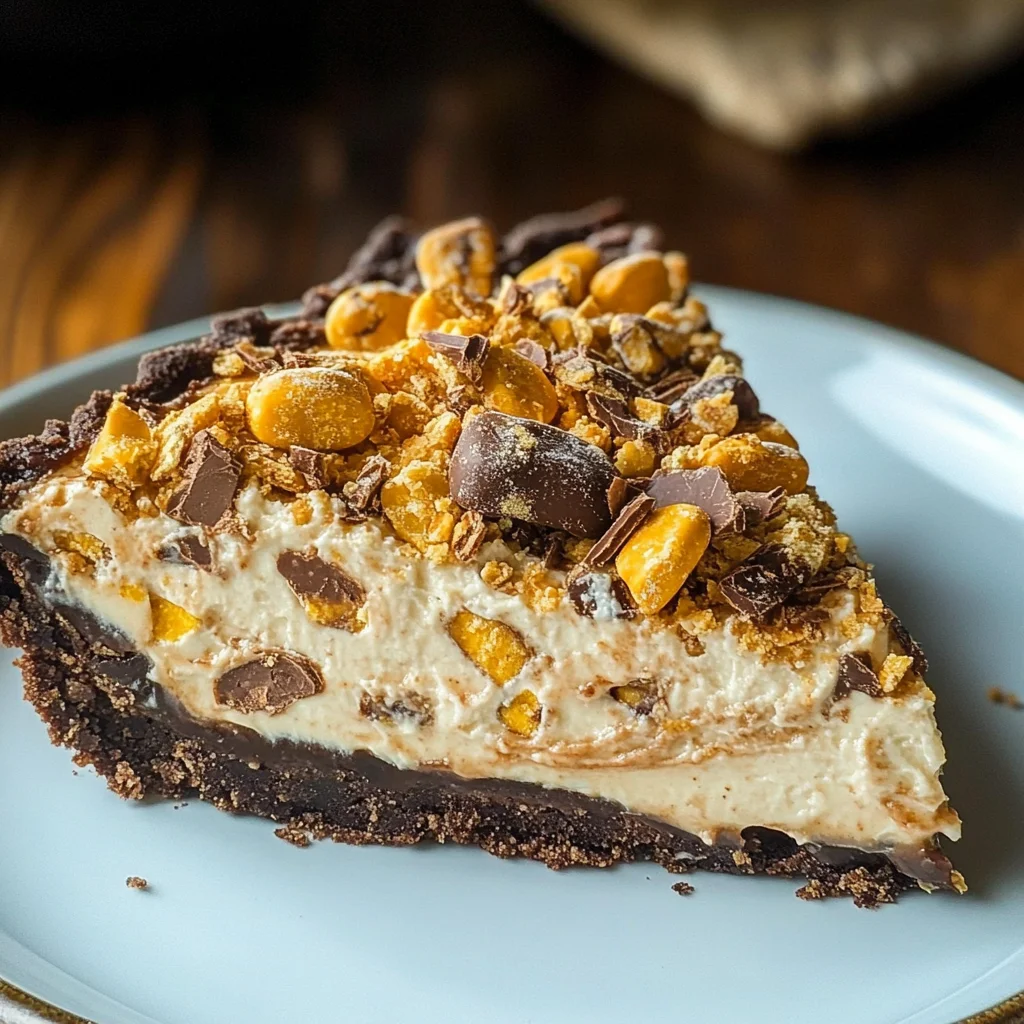
This Butterfinger Pie is perfect for meal prep, making it a fantastic dessert to whip up in advance for gatherings or family dinners. Not only does it save time, but the flavors deepen as it sits, making each bite even more delicious!
Storing Leftovers
- Place any leftover pie in an airtight container.
- Store in the refrigerator for up to 5 days.
- If you need to keep it longer, consider freezing.
Freezing
- To freeze, wrap the pie tightly in plastic wrap and then aluminum foil.
- It can be frozen for up to 2 months.
- Thaw in the refrigerator overnight before serving.
Reheating
- This pie is best served cold; there’s no need to reheat.
- If desired, let it sit at room temperature for about 15 minutes before serving to soften slightly.
FAQs
Here are some common questions that might pop into your mind while preparing this delightful dessert.
Can I make Butterfinger Pie ahead of time?
Absolutely! Butterfinger Pie can be made a day or two in advance. Just store it in the refrigerator until you’re ready to dig in.
What can I use instead of Cool Whip in Butterfinger Pie?
If you prefer a homemade option, you can whip heavy cream with a bit of powdered sugar as a substitute for Cool Whip. It will add a lovely freshness to your pie!
How long does Butterfinger Pie last in the fridge?
When stored properly in an airtight container, Butterfinger Pie can last for about 5 days in the fridge.
Can I use different candy bars in Butterfinger Pie?
Definitely! While Butterfinger bars give this pie its signature flavor, feel free to experiment with other chocolate or peanut butter candies that you enjoy.
Final Thoughts
I hope you find joy in creating this creamy Butterfinger Pie! It’s not just a treat; it’s a nostalgic experience that brings smiles all around. Whether you’re serving it at a party or enjoying it on a quiet evening at home, this dessert is sure to delight. Please try making it and share your experience—I’d love to hear how it turned out for you!
Butterfinger Pie
Indulge in the delightful experience of making this creamy Butterfinger Pie, a no-bake dessert that’s perfect for any occasion. With its rich combination of peanut butter and chocolate flavors, this pie is not just easy to prepare—it’s also a nostalgic treat that brings joy to gatherings with friends and family. In just 15 minutes, you can whip up this luscious dessert that requires minimal effort and is sure to impress everyone at the table. Chill it for a few hours, and you’ll have a delectable pie ready to serve at your next event. Whether you’re celebrating a special occasion or enjoying a quiet evening at home, this Butterfinger Pie will surely satisfy your sweet tooth!
- Prep Time: 15 minutes
- Cook Time: None
- Total Time: 0 hours
- Yield: Serves approximately 8 slices 1x
- Category: Dessert
- Method: No-bake
- Cuisine: American
Ingredients
- 1 (8-ounce) package cream cheese (room temperature)
- 1/2 cup creamy peanut butter
- 2 teaspoons vanilla extract
- 1 1/2 cups powdered sugar
- 1 (12.5-ounce) bag fun-sized butterfinger bars (crushed; reserve 2 bars for topping)
- 1 (8-ounce) container Cool Whip (thawed)
- 1 store-bought chocolate graham cracker crust
Instructions
- In a large mixing bowl, beat together cream cheese and peanut butter with vanilla until smooth.
- Gradually mix in powdered sugar until well combined.
- Fold in the crushed Butterfinger bars.
- Gently incorporate the thawed Cool Whip until fully blended.
- Transfer the mixture into the prepared crust, spreading evenly.
- Sprinkle reserved crushed Butterfingers on top.
- Refrigerate for at least four hours before serving.
Nutrition
- Serving Size: 1 slice (100g)
- Calories: 350
- Sugar: 28g
- Sodium: 150mg
- Fat: 22g
- Saturated Fat: 10g
- Unsaturated Fat: 10g
- Trans Fat: 0g
- Carbohydrates: 35g
- Fiber: 1g
- Protein: 4g
- Cholesterol: 30mg

