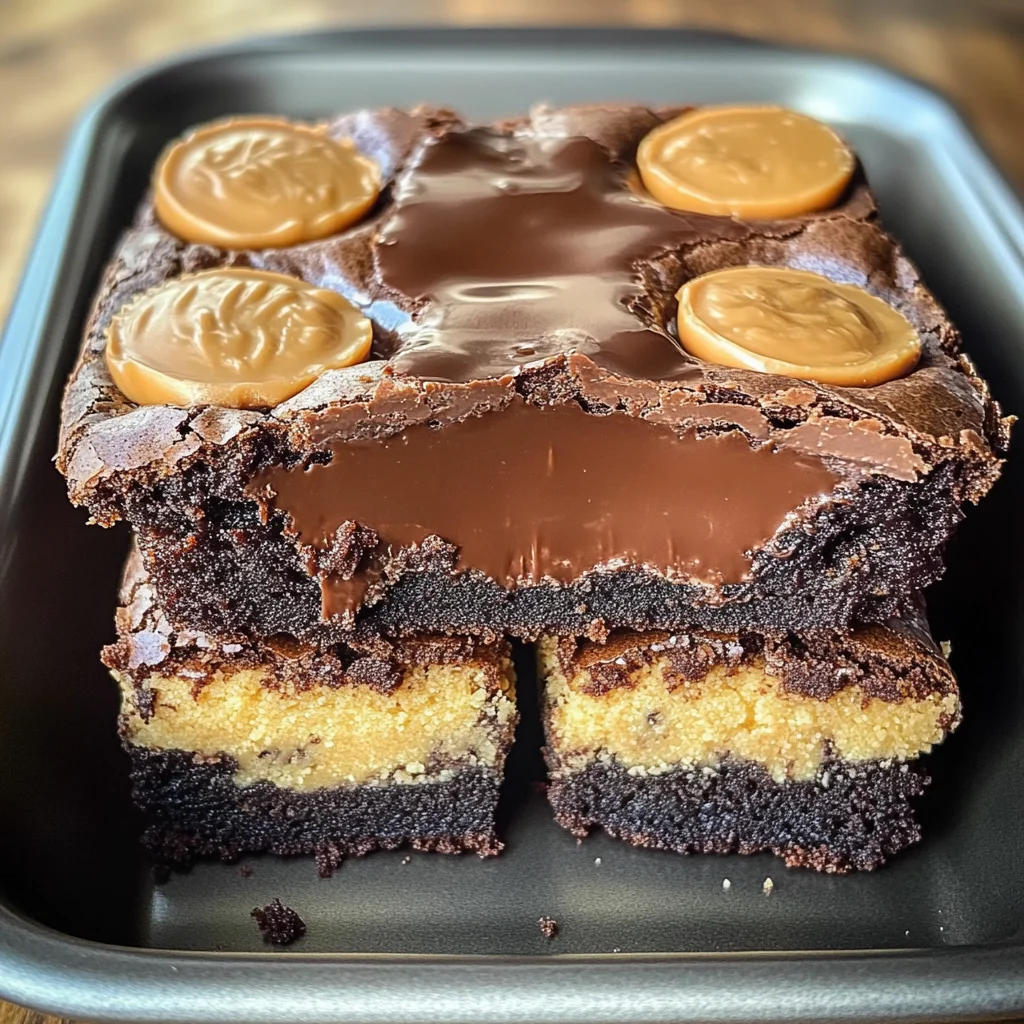
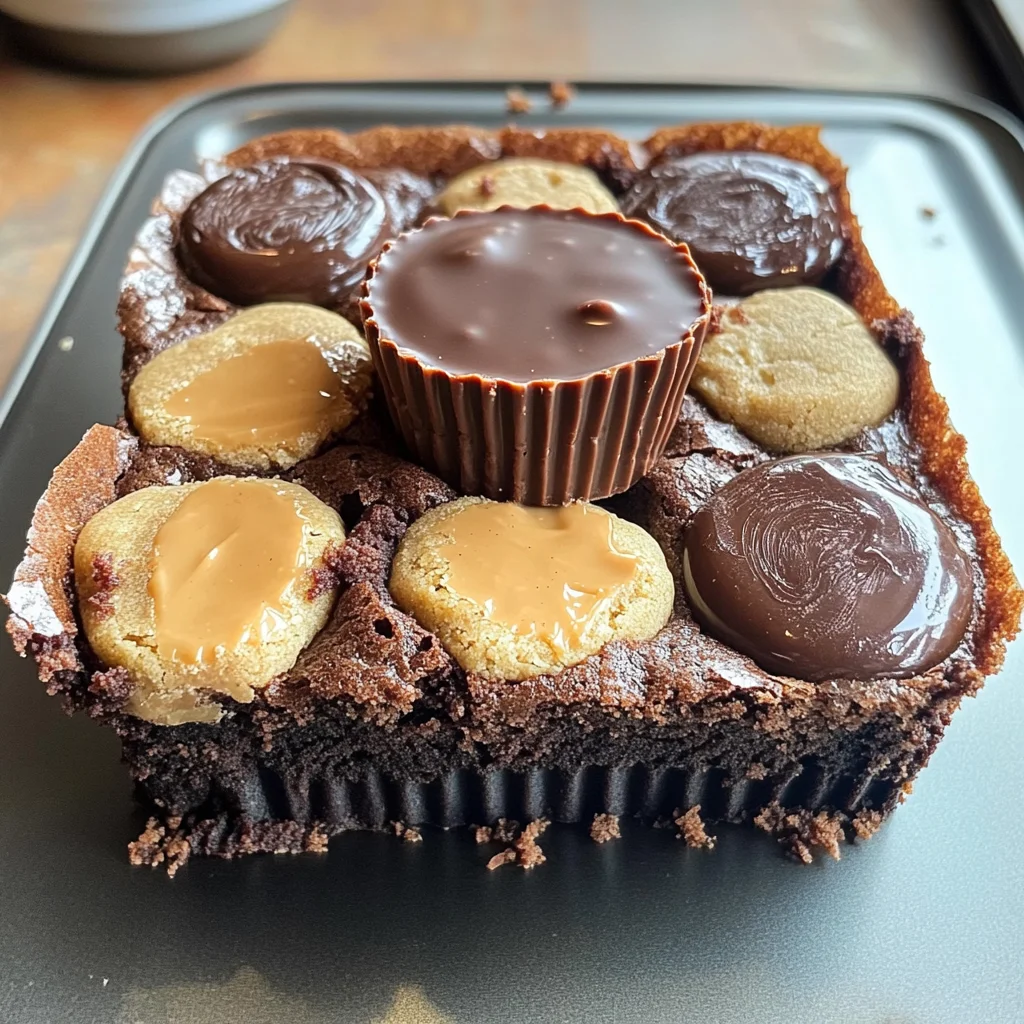
Peanut Butter Cup Stuffed Brookies
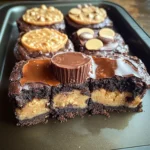
If you’re looking for a dessert that’s not only delicious but also incredibly fun to make, then these Peanut Butter Cup Stuffed Brookies are just what you need! Imagine biting into a warm brownie that’s soft and gooey, with a surprise peanut butter cup right at the center. It’s like cookies and brownies had a baby, and oh my goodness, it is heavenly! This recipe has become a favorite of mine, perfect for busy weeknights when you need something sweet or for family gatherings where everyone will be clamoring for seconds.
These delightful treats are so easy to whip up, making them a go-to option when you’re short on time but want to impress. Whether it’s a cozy night in or a lively get-together with friends, Peanut Butter Cup Stuffed Brookies are sure to bring smiles all around!
Why You’ll Love This Recipe
- Quick and Easy: With just three store-bought ingredients plus an egg and oil, this dessert comes together in no time!
- Family-Friendly: Kids and adults alike love the combination of brownie and cookie with a peanut butter twist.
- Make-Ahead Convenience: Prepare them ahead of time, pop them in the oven when guests arrive, and enjoy the warm aroma!
- Decadent Flavor: The mix of chocolate brownie, cookie dough, and peanut butter cups creates an irresistible treat.
- Versatile Serving Options: Serve warm on their own or with a scoop of vanilla ice cream for an extra indulgence.
Ingredients You’ll Need
Gathering the ingredients for these Peanut Butter Cup Stuffed Brookies is a breeze! You’ll find that they consist of simple, wholesome items that you can easily pick up at your local grocery store. Let’s take a look at what you’ll need:
- 1 (10oz) bag of brownie mix (plus the oil & egg to make the batter)
- 1 (16oz) package of refrigerated cookie dough
- 12 Reese’s Peanut Butter Cups
- vanilla ice cream (optional)
Variations
One of the best things about these Peanut Butter Cup Stuffed Brookies is how flexible they are! Feel free to play around with different flavors or ingredients based on what you have on hand. Here are some fun ideas to switch things up:
- Switch up the chocolate: Use dark chocolate brownie mix for a richer flavor.
- Add some crunch: Toss in some chopped nuts or chocolate chips into the brownie batter for added texture.
- Try different candies: Substitute Reese’s with any nut-free chocolate candy you love!
- Make them mini: Use mini muffin tins for bite-sized versions that are perfect for parties.
How to Make Peanut Butter Cup Stuffed Brookies
Step 1: Preheat Your Oven
Start by preheating your oven to 350 degrees Fahrenheit. This ensures that your brookies bake evenly and come out perfectly gooey!
Step 2: Grease Your Muffin Tin
Generously grease a regular-sized muffin tin. This step is crucial as it prevents sticking, making it easier to remove your delicious treats once they’re baked.
Step 3: Prepare the Brownie Mix
Follow the package instructions for your brownie mix. Mixing it well ensures that your brookies will have that rich chocolaty flavor everyone loves!
Step 4: Shape the Cookie Dough
Separate your cookie dough into 12 even balls. Flatten each ball slightly before placing them in the bottom of each muffin cup. This forms a delightful base for your peanut butter cup.
Step 5: Add the Peanut Butter Cups
Place one Reese’s peanut butter cup upside down on top of each piece of cookie dough. This means you’ll get that melty goodness right in the center!
Step 6: Pour in the Brownie Batter
Evenly distribute the prepared brownie batter over each peanut butter cup until they’re about 90% full. This is where all those layers start coming together beautifully!
Step 7: Bake and Cool
Bake your creation for about 18-20 minutes or until the brownie batter is cooked through. Once they’re done, let them cool for about five minutes before removing from the pan—this helps maintain their shape while still being warm and inviting.
And there you have it! These Peanut Butter Cup Stuffed Brookies are sure to be a hit at any gathering or just as a sweet treat after dinner! Enjoy them warm with a scoop of vanilla ice cream if you’re feeling indulgent!
Pro Tips for Making Peanut Butter Cup Stuffed Brookies
Creating the perfect Peanut Butter Cup Stuffed Brookies is all about those little details that make a big difference. Here are some tips to ensure your brookies turn out absolutely divine!
-
Use room temperature ingredients: Allowing your brownie mix and cookie dough to sit at room temperature for about 15 minutes makes them easier to work with, resulting in a smoother batter and better texture.
-
Don’t overfill the muffin cups: Keeping the wells about 90% full allows for the brookies to rise without overflowing, ensuring they maintain their shape and look beautiful when served.
-
Experiment with different cookie dough: While refrigerated cookie dough is convenient, using flavors like chocolate chip or peanut butter can add an extra layer of taste that complements the peanut butter cups beautifully.
-
Serve warm for the best experience: These brookies are best enjoyed warm right out of the oven. The gooey center and melty chocolate will tantalize your taste buds!
-
Chill before serving if desired: If you prefer a more set structure, let them cool completely and then chill in the fridge for a bit. They’ll still be delicious but with a firmer texture.
How to Serve Peanut Butter Cup Stuffed Brookies
These delightful brookies not only taste amazing, but they also have a gorgeous presentation that can elevate any gathering. Here are some fun ideas on how to serve this dessert!
Garnishes
-
Whipped coconut cream: A dollop of whipped coconut cream adds a light and fluffy texture that balances the richness of the brookies perfectly.
-
Chocolate drizzle: Drizzling melted dairy-free chocolate over the top gives these treats an elegant touch while enhancing their chocolaty flavor.
Side Dishes
-
Fresh fruit salad: A refreshing mix of seasonal fruits like strawberries, blueberries, and bananas provides a vibrant contrast to the sweet richness of brookies.
-
Vanilla almond milkshake: This creamy shake pairs wonderfully with the dessert’s textures and flavors, creating a delightful harmony between warm and cold.
-
Coffee or tea: A warm cup of coffee or herbal tea complements the sweetness of brookies beautifully, making it perfect for winding down after dinner.
With these tips and serving suggestions, you’ll be all set to impress friends and family with your scrumptious Peanut Butter Cup Stuffed Brookies! Enjoy every bite!
Make Ahead and Storage
These Peanut Butter Cup Stuffed Brookies are perfect for meal prep! You can easily make them ahead of time for parties or just to have a delicious treat on hand during the week.
Storing Leftovers
- Allow the brookies to cool completely before storing.
- Place them in an airtight container at room temperature for up to 3 days.
- For longer freshness, refrigerate them, where they will last about a week.
Freezing
- Wrap each brookie individually in plastic wrap or foil.
- Place the wrapped brookies in a freezer-safe bag or container.
- They can be frozen for up to 3 months.
Reheating
- To reheat, remove from the refrigerator or freezer and let sit at room temperature for about 10 minutes.
- Warm them in the microwave for 15-20 seconds if refrigerated, or 30-45 seconds if frozen.
- Serve warm with a scoop of vanilla ice cream for extra indulgence!
FAQs
Here are some common questions that might come up when making these delicious treats!
Can I use other types of chocolate candy instead of Reese’s?
Absolutely! Feel free to swap out Reese’s Peanut Butter Cups with any chocolate candy you love, such as caramel-filled chocolates or even chocolate truffles. The possibilities are endless!
How do I know when my Peanut Butter Cup Stuffed Brookies are done?
You’ll know your brookies are ready when the brownie batter is set and has a slight sheen. A toothpick inserted should come out mostly clean, with just a few crumbs sticking to it.
Can I make these Peanut Butter Cup Stuffed Brookies gluten-free?
Yes! Simply use gluten-free brownie mix and cookie dough. This way, everyone can enjoy this delightful dessert!
What’s the best way to serve Peanut Butter Cup Stuffed Brookies?
Serve them warm right out of the oven or allow them to cool slightly before serving. Pair with vanilla ice cream for an extra special touch!
Final Thoughts
I hope you’re as excited to make these Peanut Butter Cup Stuffed Brookies as I am! They’re not only fun and easy but also combine all those beloved flavors into one irresistible dessert. Enjoy every gooey bite, and don’t forget to share with family and friends (or keep them all to yourself!). Happy baking!
Peanut Butter Cup Stuffed Brookies
Indulge in the delightful experience of making Peanut Butter Cup Stuffed Brookies—a heavenly fusion of rich brownies and soft cookies.
- Prep Time: 15 minutes
- Cook Time: 20 minutes
- Total Time: 35 minutes
- Yield: 12 servings 1x
- Category: Dessert
- Method: Baking
- Cuisine: American
Ingredients
- 1 (10oz) bag brownie mix (plus oil & egg)
- 1 (16oz) package refrigerated cookie dough
- 12 peanut butter cups (such as Reese’s)
- Vanilla ice cream (optional)
Instructions
- Preheat your oven to 350°F and grease a muffin tin.
- Prepare the brownie mix according to package instructions.
- Divide cookie dough into 12 balls; flatten slightly and place them in muffin cups.
- Insert a peanut butter cup upside down on top of each dough ball.
- Pour brownie batter over the cups until about 90% full.
- Bake for 18-20 minutes until set; let cool for 5 minutes before removing from the tin.
Nutrition
- Serving Size: 1 serving
- Calories: 220
- Sugar: 19g
- Sodium: 120mg
- Fat: 10g
- Saturated Fat: 4g
- Unsaturated Fat: 6g
- Trans Fat: 0g
- Carbohydrates: 31g
- Fiber: 1g
- Protein: 3g
- Cholesterol: 30mg